


Complete Guide to Natural Stone Patio Installation: Natural Stone Patio Tips
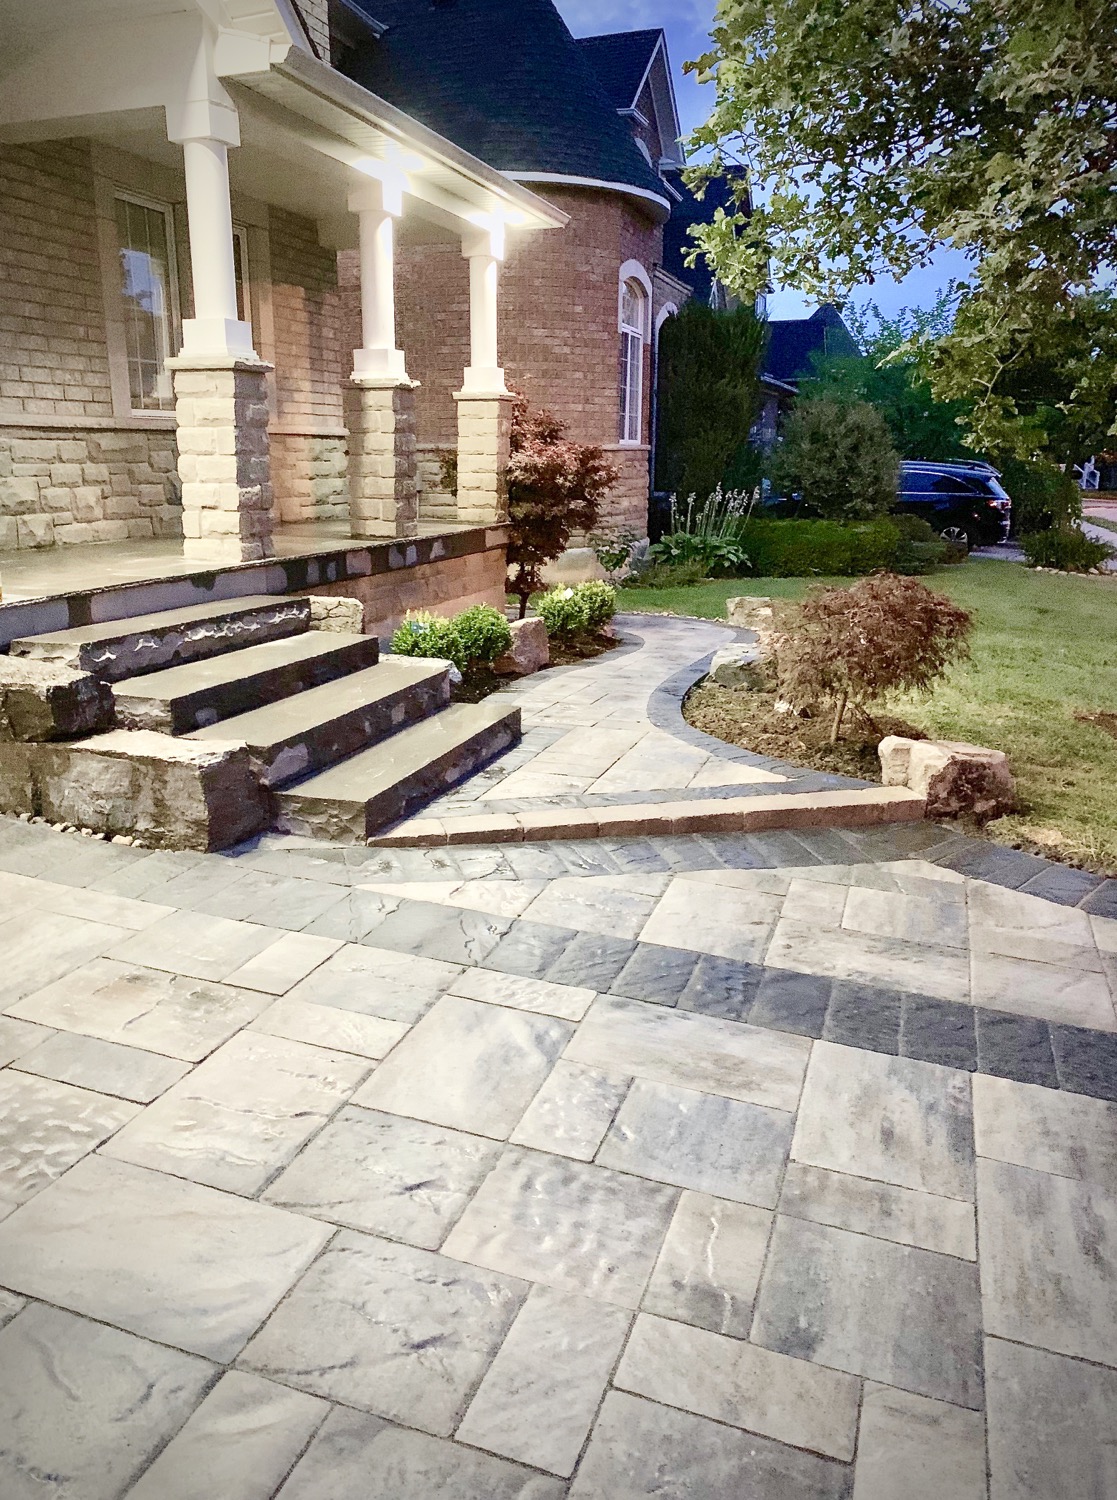
Creating a beautiful outdoor space is a dream for many homeowners. A natural stone patio offers timeless charm, durability, and a unique character that enhances any backyard or garden. If you’re considering adding this feature to your property, you’re in the right place. I’ll walk you through everything you need to know about natural stone patio installation, sharing practical advice and natural stone patio tips to help you get started.
Natural Stone Patio Tips for a Stunning Outdoor Space
When planning your natural stone patio, the first step is choosing the right type of stone. Popular options include flagstone, slate, limestone, and sandstone. Each has its own texture, color, and durability, so think about the look you want and how much wear the patio will endure.
Here are some tips to keep in mind:
Select stones with consistent thickness to make installation easier and the surface more even.
Consider the climate in your area. Some stones handle freeze-thaw cycles better than others.
Mix different shapes and sizes for a natural, organic look or opt for uniform cuts for a more formal design.
Plan for drainage by sloping the patio slightly away from your home to prevent water pooling.
Once you’ve picked your stone, it’s time to prepare the site. Clear the area of grass, roots, and debris. Then, dig down about 6 to 8 inches to create a solid base. This depth allows room for a gravel layer, sand, and the stones themselves.

Step-by-Step Natural Stone Patio Installation Process
Installing a natural stone patio might seem daunting, but breaking it down into steps makes it manageable. Here’s a straightforward process you can follow:
Excavate the area to the desired depth.
Add a gravel base about 4 inches thick. Compact it well to create a stable foundation.
Spread a layer of sand roughly 1 to 2 inches thick over the gravel. This helps level the stones.
Lay out your stones without setting them in place. Arrange them to find the best fit and pattern.
Set the stones into the sand, tapping them gently with a rubber mallet to secure.
Fill the gaps between stones with sand, gravel, or polymeric sand to lock them in place.
Compact the entire patio again to ensure stability.
Remember to wear gloves and knee pads for comfort and safety during installation. Take your time fitting the stones together; the more precise you are, the better the final look.

Is it Cheaper to Build a Deck or a Stone Patio?
Cost is a big factor when deciding between a deck and a stone patio. Generally, a stone patio can be more affordable upfront, especially if you choose local stone and do some of the work yourself. Here’s a quick comparison:
Materials: Wood decks require treated lumber or composite materials, which can be pricey. Natural stone varies widely in cost but often lasts longer.
Labor: Decks usually need professional carpentry skills, while a stone patio can be a DIY project with some effort.
Maintenance: Decks require regular sealing, staining, or painting. Stone patios need minimal upkeep, just occasional cleaning and joint refilling.
Longevity: Stone patios can last decades with little change, while decks may need repairs or replacement after 10-20 years.
If you want a low-maintenance, durable outdoor space, a natural stone patio is often the better investment. However, decks offer elevation and can be easier to customize with railings and built-in seating.
Choosing the Right Tools and Materials for Your Project
Having the right tools makes natural stone patio installation smoother and more enjoyable. Here’s what you’ll need:
Shovel and garden rake for excavation and leveling.
Plate compactor or hand tamper to compact gravel and sand layers.
Rubber mallet to gently tap stones into place.
Level to ensure even surfaces.
Wheelbarrow for moving gravel, sand, and stones.
Gloves and knee pads for protection.
For materials, besides your chosen stone, you’ll need:
Crushed gravel for the base.
Coarse sand for bedding.
Joint filler such as sand or polymeric sand.
Make sure to buy a little extra stone to account for cuts and breakage. Also, consider renting heavy equipment like a plate compactor if you don’t have one.
Caring for Your Natural Stone Patio Over Time
Once your patio is installed, keeping it looking great is simple with regular care. Here are some tips:
Sweep regularly to remove dirt and debris.
Wash with mild soap and water to clean stains.
Refill joints with sand or polymeric sand as needed to prevent weed growth.
Seal the stone every few years if you want to enhance color and protect against stains.
Avoid harsh chemicals that can damage the stone surface.
Proper maintenance ensures your patio remains a welcoming outdoor retreat for years to come.
Bringing Your Outdoor Vision to Life
Installing a natural stone patio is a rewarding project that transforms your outdoor space into a beautiful, functional area. With the right planning, materials, and care, you can enjoy a stunning patio that complements your home and lifestyle.
If you want expert help or a hassle-free experience, consider professional natural stone patio installation. They bring skill and experience to every project, ensuring your patio looks perfect and lasts a lifetime.
Start planning your natural stone patio today and get ready to enjoy your outdoor space like never before!


Comments