


Installing a Natural Stone Patio: A Natural Patio Installation Guide
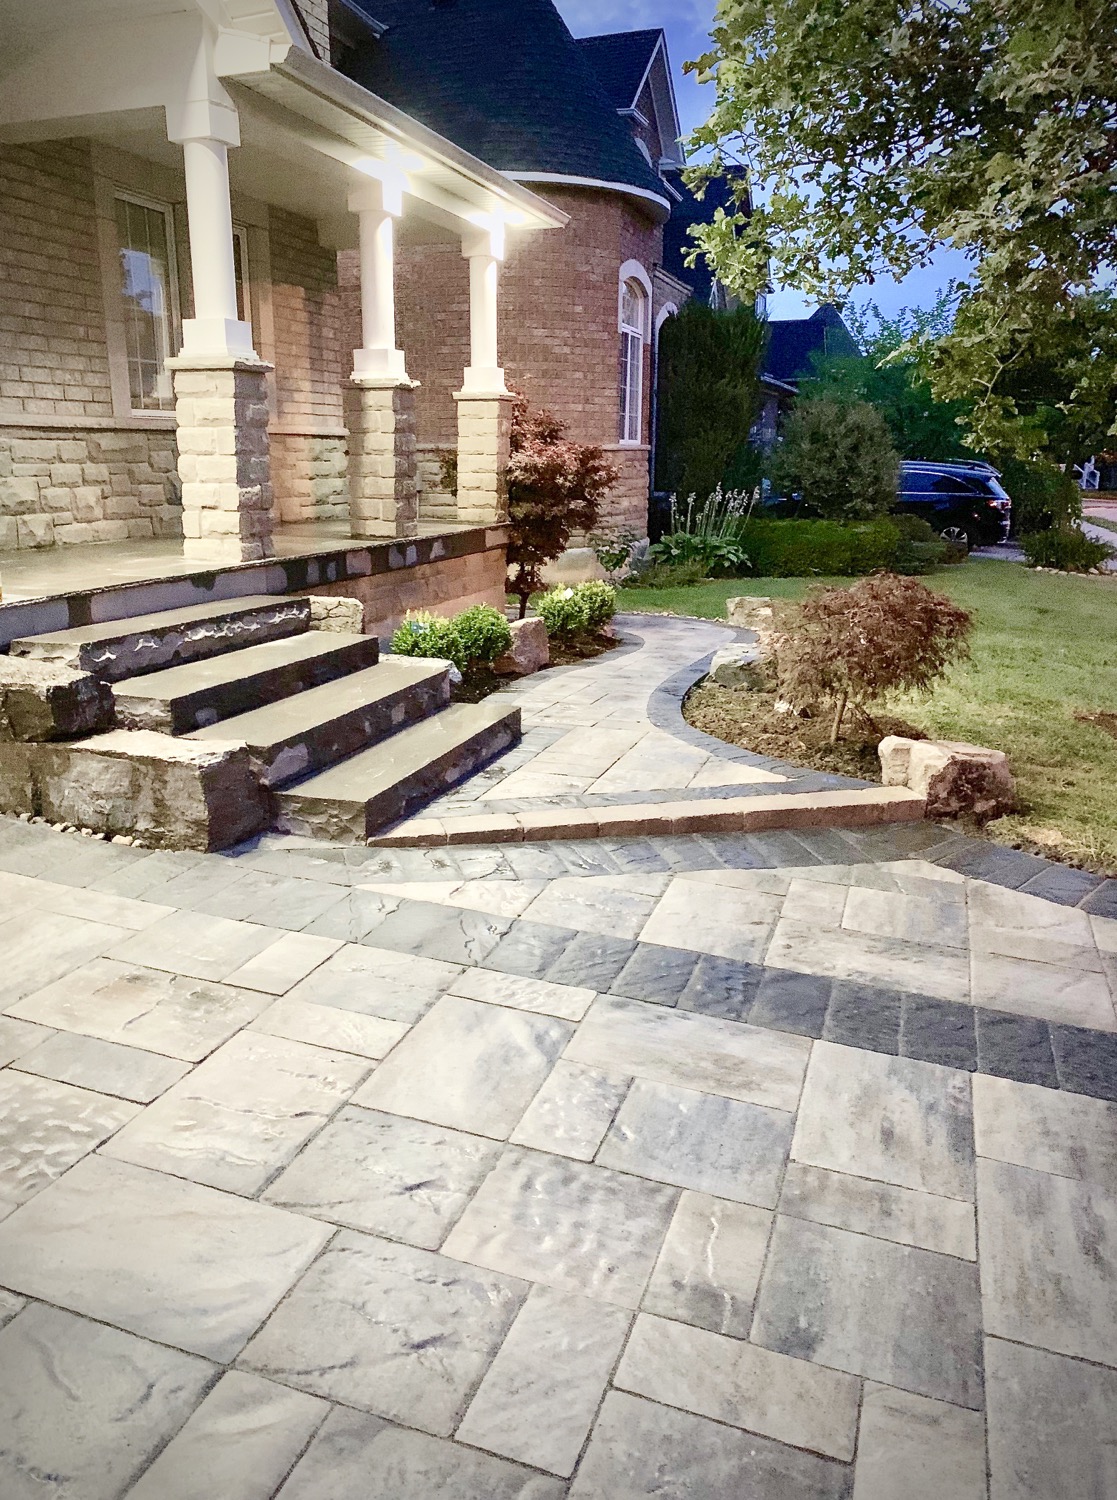
Creating a beautiful outdoor space is one of the most rewarding home improvement projects you can take on. A natural stone patio adds charm, durability, and value to your property. It invites you to spend more time outside, enjoying fresh air and nature’s beauty. If you’re thinking about installing a natural stone patio, you’re in the right place. I’ll walk you through the process with clear, friendly advice that makes the project manageable and fun.
Why Choose Natural Stone for Your Patio Installation?
Natural stone offers a timeless look that blends seamlessly with any landscape. Unlike concrete or pavers, each stone is unique, giving your patio a one-of-a-kind character. Stones like flagstone, slate, limestone, and sandstone come in various colours and textures, allowing you to customize your outdoor space to your taste.
Here are some benefits of natural stone patios:
Durability: Natural stone withstands weather changes and heavy foot traffic.
Low Maintenance: It requires minimal upkeep compared to wood or composite decks.
Eco-Friendly: Stone is a natural material that doesn’t involve harmful chemicals.
Increased Property Value: A well-installed stone patio enhances curb appeal and resale value.
Choosing the right stone depends on your climate, budget, and style preferences. For example, slate offers a sleek, modern look, while flagstone provides a rustic, earthy feel.

Steps for a Successful Natural Patio Installation
Installing a natural stone patio is a rewarding DIY project if you follow the right steps. Here’s a straightforward plan to guide you:
Design Your Patio
Sketch your patio layout, considering size, shape, and location. Think about how you’ll use the space—dining, lounging, or entertaining. Mark the area with spray paint or stakes and string.
Gather Materials and Tools
You’ll need natural stones, gravel, sand, a tamper, a level, a shovel, and a wheelbarrow. Renting a plate compactor can make compacting the base easier.
Prepare the Ground
This is a crucial step to ensure your patio lasts for years. (More on this in the next section.)
Lay the Base
Spread and compact gravel to create a stable foundation. Then add a layer of sand to help level the stones.
Place the Stones
Arrange stones according to your design. Use a rubber mallet to tap them into place and keep the surface even.
Fill the Gaps
Sweep sand or fine gravel into the joints between stones to lock them in place.
Seal the Patio (Optional)
Applying a sealant can protect your stones from stains and weather damage.
Each step requires patience and attention to detail, but the result is a stunning patio you’ll enjoy for years.
How to Prep the Ground for a Stone Patio?
Proper ground preparation is the foundation of a long-lasting patio. Here’s how to get it right:
Clear the Area
Remove grass, roots, rocks, and debris from the patio space. Dig down about 6 to 8 inches to allow room for the base materials.
Check the Slope
Your patio should slope away from your home to prevent water pooling. Aim for a slope of about 1 inch per 4 feet.
Compact the Soil
Use a hand tamper or plate compactor to compress the soil. This prevents settling and shifting later.
Add a Gravel Base
Spread 4 to 6 inches of crushed gravel or stone dust. Compact it thoroughly to create a solid base.
Add a Sand Layer
Spread 1 to 2 inches of coarse sand over the gravel. This layer helps level the stones and provides drainage.
Taking the time to prepare the ground properly saves you from costly repairs down the road. It also ensures your patio looks professional and stays stable.

Tips for Choosing and Laying Natural Stone
Selecting the right stone and laying it correctly makes all the difference. Here are some tips to keep in mind:
Pick Stones of Similar Thickness
This makes it easier to create a level surface.
Mix Stone Shapes and Sizes
For a natural look, combine large and small stones. Avoid uniform patterns unless you want a formal design.
Leave Small Gaps
Gaps between stones allow for sand or gravel to settle and help with drainage.
Use a Level Frequently
Check your work often to keep the surface even.
Cut Stones if Needed
Use a wet saw or chisel to shape stones to fit edges or tight spots.
Work in Small Sections
Lay stones in manageable areas to maintain control and precision.
By following these tips, you’ll create a patio that looks natural and feels solid underfoot.
Caring for Your Natural Stone Patio
Once your patio is installed, keeping it beautiful is simple with regular care:
Sweep Regularly
Remove leaves, dirt, and debris to prevent stains and moss growth.
Wash Occasionally
Use a garden hose or mild detergent to clean the surface.
Replenish Joint Sand
Over time, sand between stones may wash away. Add more as needed to keep stones locked in place.
Seal Every Few Years
If you choose to seal your patio, reapply the sealant every 2 to 3 years for protection.
Address Weeds Promptly
Pull weeds growing between stones before they take root.
With simple maintenance, your natural stone patio will remain a stunning feature of your outdoor space.
Bringing Your Outdoor Vision to Life
Installing a natural stone patio is a fantastic way to enhance your property. It creates a welcoming space for relaxing, dining, and entertaining. By following these steps and tips, you can confidently tackle your own natural stone patio installation and enjoy the beauty and durability of natural stone.
If you want a patio that stands the test of time and adds charm to your home, natural stone is the way to go. Take your time, plan carefully, and enjoy the process of transforming your outdoor space into a personal oasis.
Happy landscaping!


Comments