


Steps to a Stunning Natural Stone Patio: Installing Natural Stone Patios with Ease
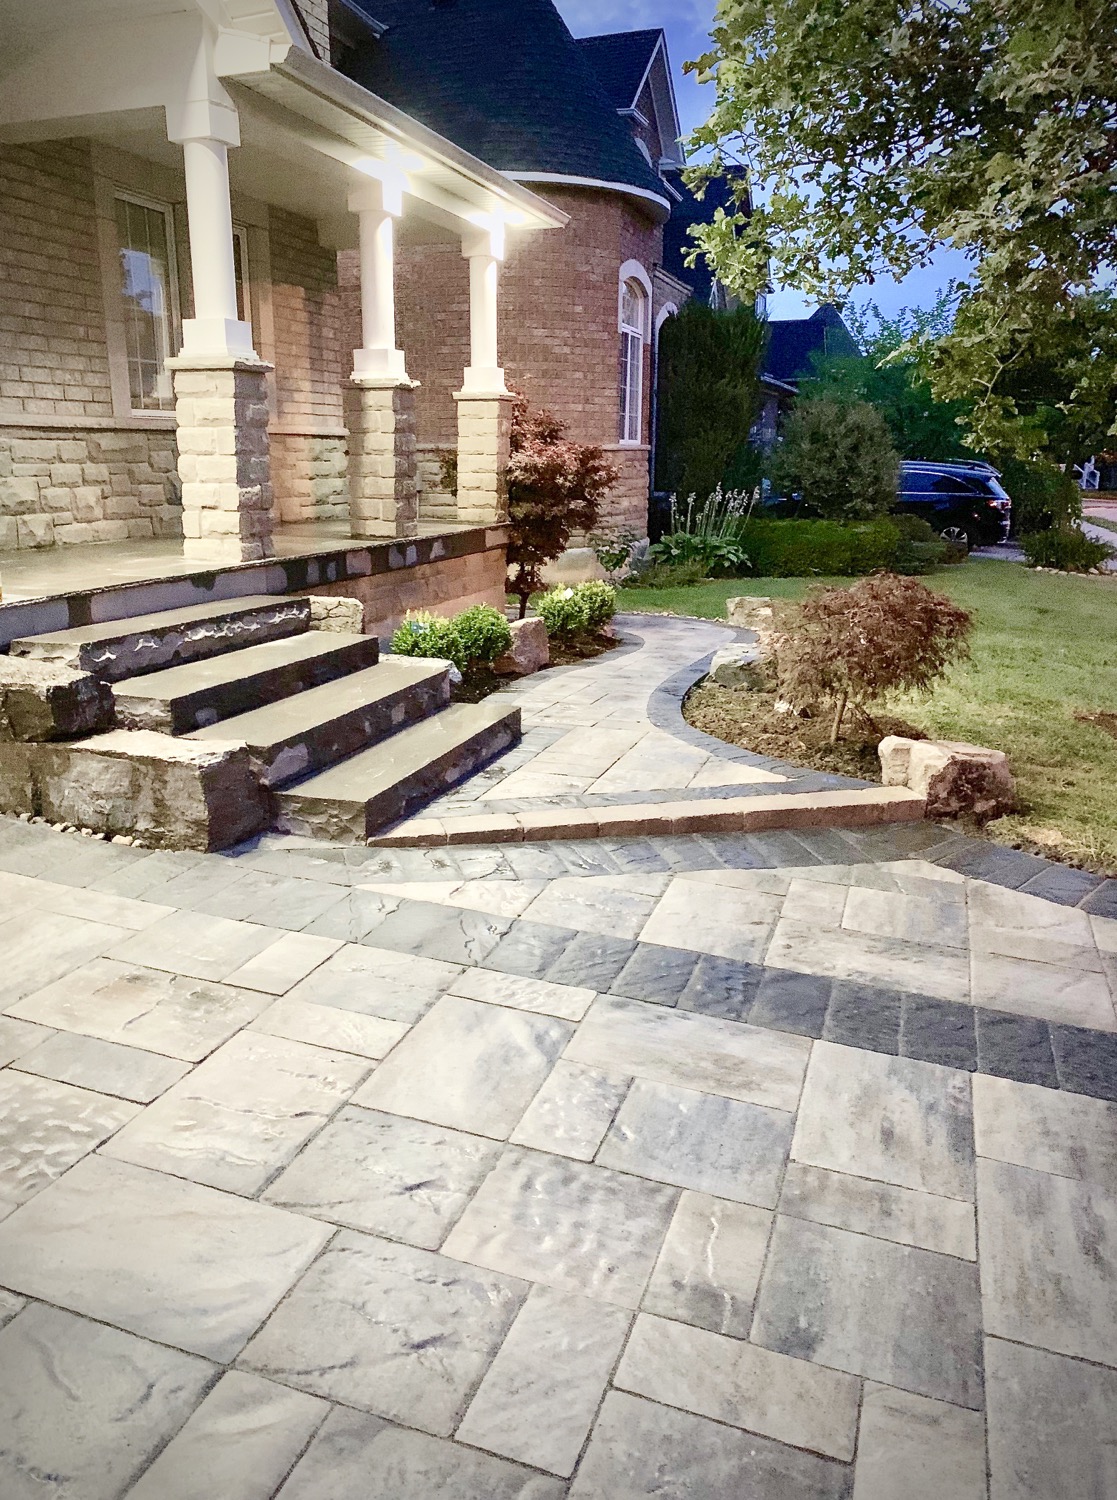
Creating a beautiful outdoor space is one of the most rewarding home projects you can take on. A natural stone patio adds charm, durability, and a timeless appeal to your backyard. If you’re thinking about installing natural stone patios, you’re in the right place. I’ll walk you through the essential steps to build a stunning patio that will be the envy of your neighbourhood.
Natural stone patios blend seamlessly with nature. They offer a unique look that concrete or pavers just can’t match. Plus, they’re built to last. Let’s dive into how you can bring this vision to life.
Why Choose Installing Natural Stone Patios?
Natural stone patios offer several benefits that make them a smart choice for your outdoor space. First, the variety of stones available means you can customize your patio to fit your style perfectly. From flagstone to slate, each stone has its own texture and colour palette.
Another advantage is durability. Natural stone withstands harsh weather conditions, making it ideal for Canadian climates. It resists cracking and fading, so your patio will look great for years.
Maintenance is also straightforward. A simple cleaning routine keeps the stones looking fresh. Plus, if a stone gets damaged, you can replace it without disturbing the entire patio.
Finally, natural stone patios increase your property’s value. They create an inviting space for entertaining, relaxing, or dining outdoors. This investment pays off in both enjoyment and resale value.
How to Prep the Ground for a Stone Patio?
Proper ground preparation is the foundation of a successful patio. Skipping this step can lead to uneven stones, drainage problems, and a patio that doesn’t last.
Start by choosing the right location. Look for a flat area with good drainage. Avoid spots where water pools after rain.
Next, mark the patio’s outline using stakes and string. This helps you visualize the size and shape.
Excavate the area to a depth of about 8 to 12 inches. This space will accommodate the base materials and the stones themselves.
Remove all grass, roots, and debris. A clean base ensures stability.
Compact the soil using a plate compactor or hand tamper. This step prevents settling later on.
Add a layer of crushed stone or gravel about 4 to 6 inches thick. This base layer promotes drainage and supports the patio.
Compact the gravel layer thoroughly.
Finally, spread a 1 to 2-inch layer of coarse sand or stone dust over the gravel. This layer helps level the stones and locks them in place.

Selecting the Right Natural Stone for Your Patio
Choosing the right stone is key to achieving the look and feel you want. Here are some popular options:
Flagstone: Flat, irregular shapes with a rustic look. Great for casual patios.
Slate: Smooth texture with rich colours. Offers a sleek, modern appearance.
Limestone: Softer stone with warm tones. Ideal for traditional designs.
Granite: Extremely durable with a polished finish. Perfect for high-traffic areas.
Sandstone: Earthy colours and rough texture. Adds natural charm.
Consider the stone’s thickness and size. Thicker stones are more durable but heavier to handle. Larger stones create fewer joints, which can be easier to maintain.
Also, think about the stone’s slip resistance, especially if your patio will be near a pool or in a shaded area.
Ordering a sample or visiting a stone yard can help you see the colours and textures in person before making a decision.
Laying the Stones: Tips for a Beautiful Pattern
Now comes the fun part - laying the stones! Take your time to create a pattern that feels natural and balanced.
Start by placing the largest stones first. These act as anchors for your design.
Fit smaller stones around the larger ones, filling gaps and creating a mosaic effect.
Use a rubber mallet to gently tap stones into the sand base. This ensures they sit firmly and evenly.
Check the level frequently. Stones should be flush with each other to avoid tripping hazards.
Leave small gaps between stones for jointing material. These gaps also allow for natural expansion and contraction.
For a polished look, consider using polymeric sand or mortar to fill the joints. This prevents weed growth and keeps stones in place.

Sealing and Maintaining Your Stone Patio
Sealing your patio protects the stones from stains, moisture, and wear. Choose a sealant designed for natural stone and follow the manufacturer’s instructions.
Apply the sealant evenly with a brush or roller. Allow it to dry completely before using the patio.
Maintenance is simple but important. Sweep regularly to remove dirt and debris.
Wash the patio with mild soap and water as needed. Avoid harsh chemicals that can damage the stone.
Inspect the patio annually for loose stones or cracks. Repair any issues promptly to prevent bigger problems.
With proper care, your patio will stay stunning for decades.
Bringing It All Together: Your Dream Outdoor Space
Building a natural stone patio is a rewarding project that transforms your outdoor area into a welcoming retreat. By following these steps, you ensure a durable, beautiful patio that complements your home.
If you want expert help, consider professional natural stone patio installation. They bring experience and skill to the job, saving you time and effort.
Remember, the key to success is careful planning, quality materials, and attention to detail. Your new patio will be the perfect spot for family gatherings, quiet mornings, and everything in between.
Start your project today and enjoy the beauty and function of a natural stone patio for years to come!


Comments